
See it before you sign up
Short, click-through tours of the real product — no signup and no data required. Click through each one at your own pace (use the arrow keys, too). When you’re ready, the trial lets you do all of this with your own data.
Your first few minutes
Sign up a brand-new organization and watch MapleGather guide you from an empty workspace to a running org — trial, checklist, dashboard, and what it will cost.
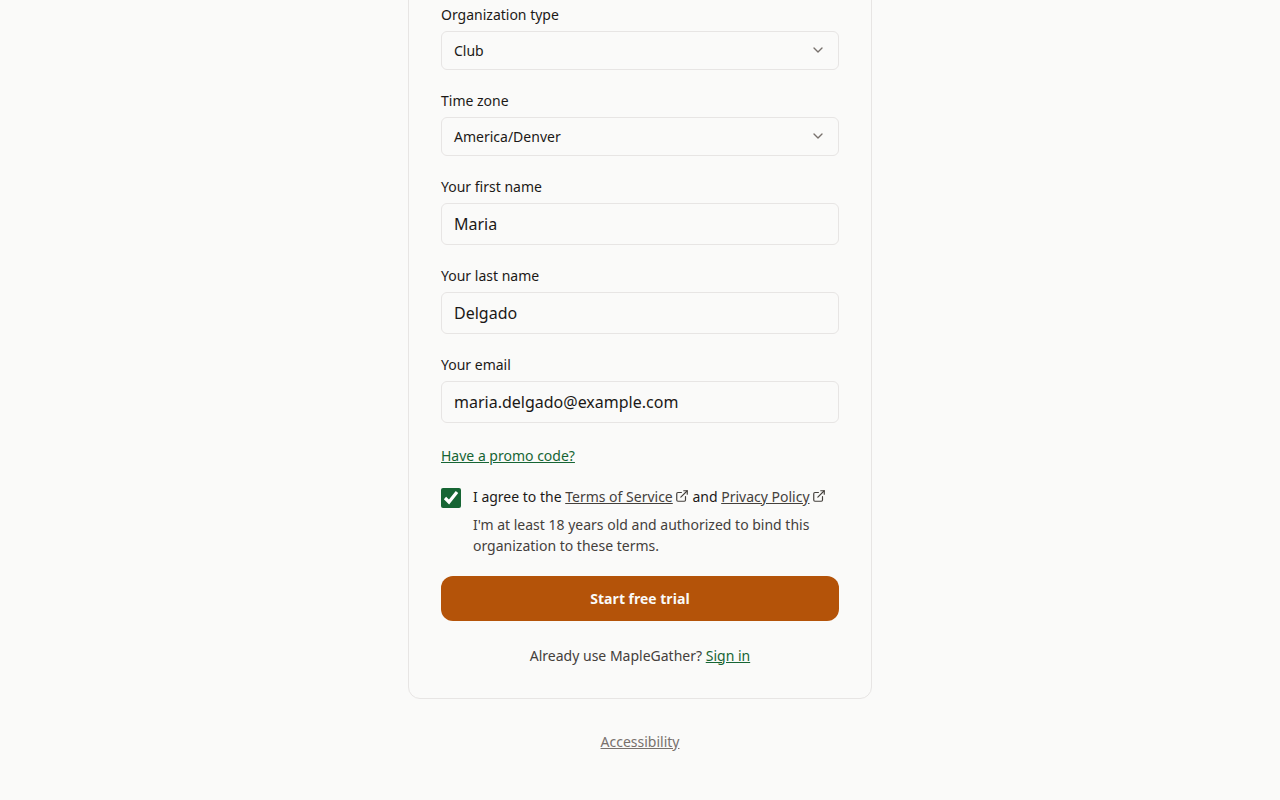
Starting takes about a minute — your organization and what kind of group it is, your name, your email, and one box confirming you agree to the terms and can sign for the organization. No credit card, and no sales call to book.
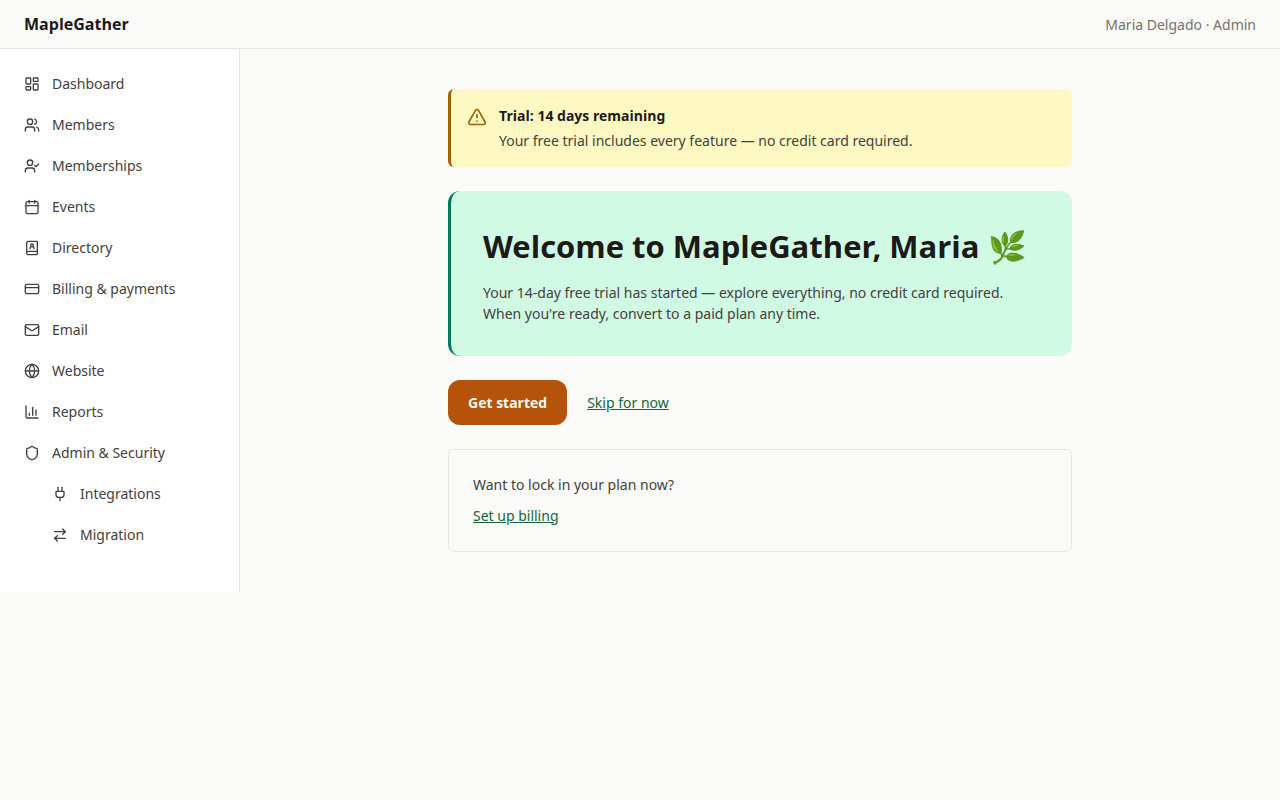
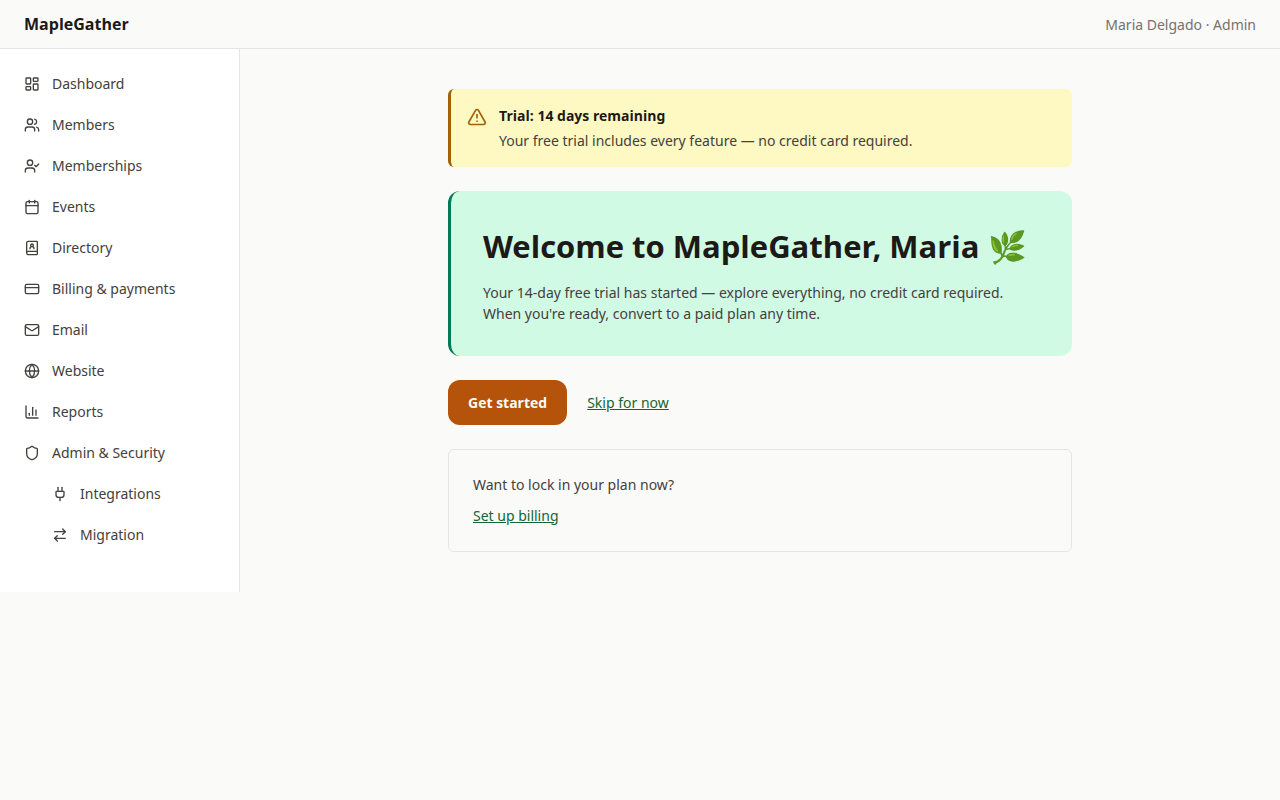
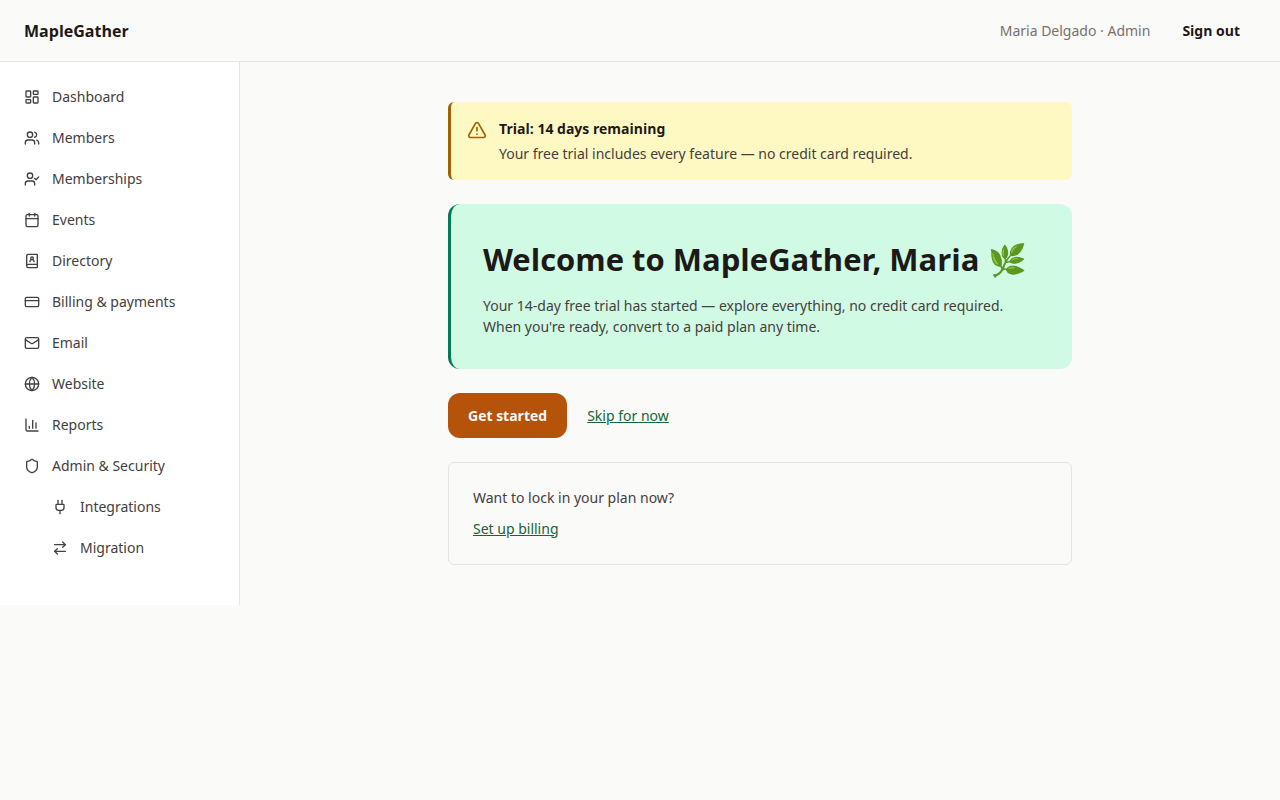
You're in. A 14-day trial with every feature unlocked and no card on file — “Get started” opens a guided setup, not a blank screen.
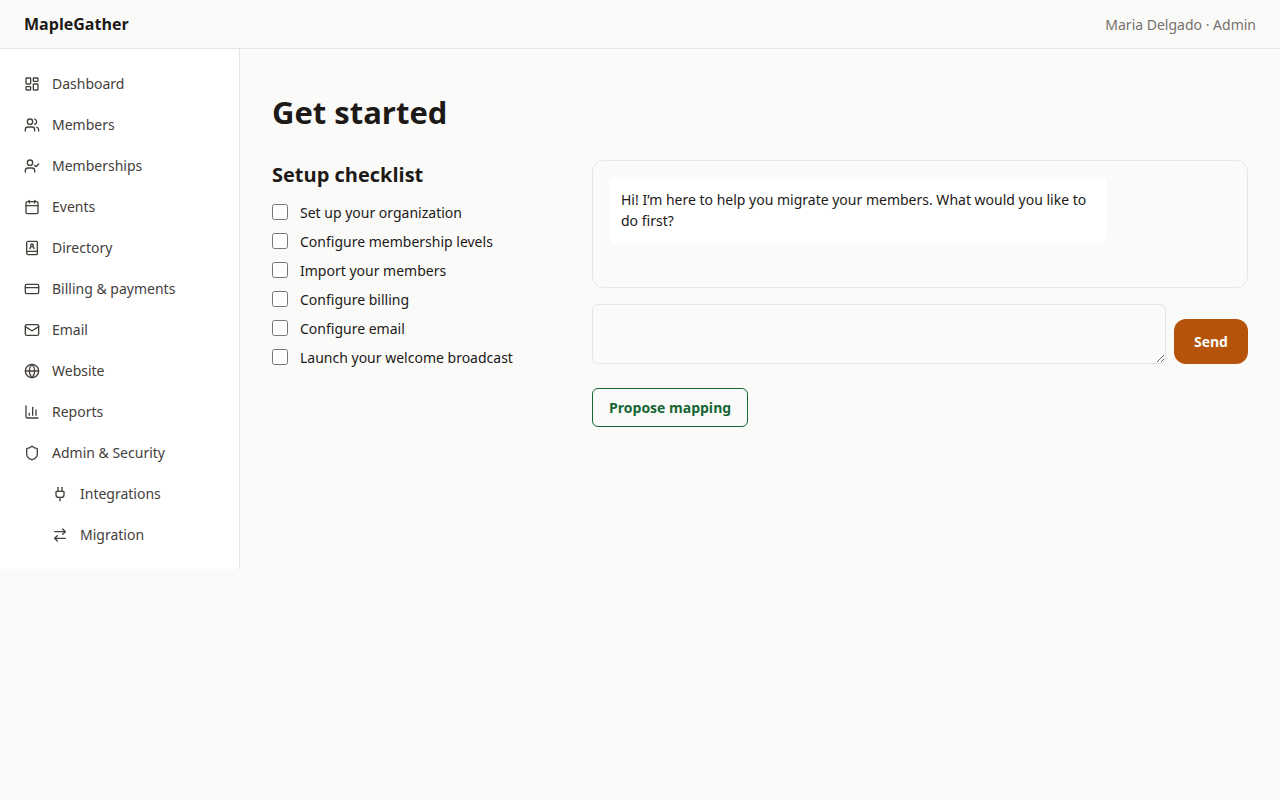
A short setup checklist keeps you on track — your organization details, a membership level, your members, billing, and a welcome email.
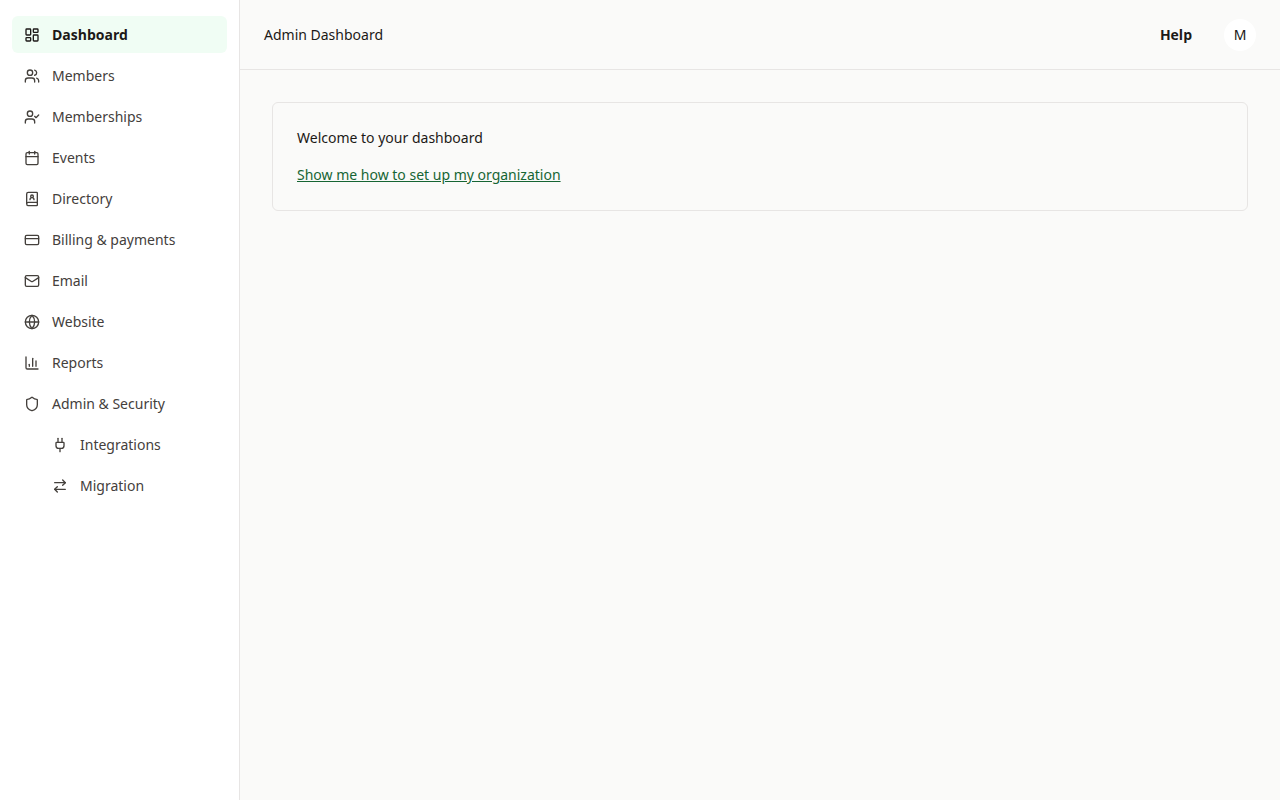
It's all here in one place — members, memberships, events, billing, email, your website, and reports. One platform, not a shell you have to bolt add-ons onto.
A $29 base plan with 100 contacts included — and the same $29 projected below it, because this club is still inside those 100. Past them you pay by the contact: no tiers, no feature paywalls, nothing rationed by plan.
Everything you just saw is open in the trial — your own organization, your own data. And pricing stays as simple as the screen before this one: contact-count only, no tiers, no feature paywalls.
Bring your members over from Wild Apricot
Import a Wild Apricot member export end to end — upload, map the columns, preview, commit, and send the welcome email that gets everyone logged in.
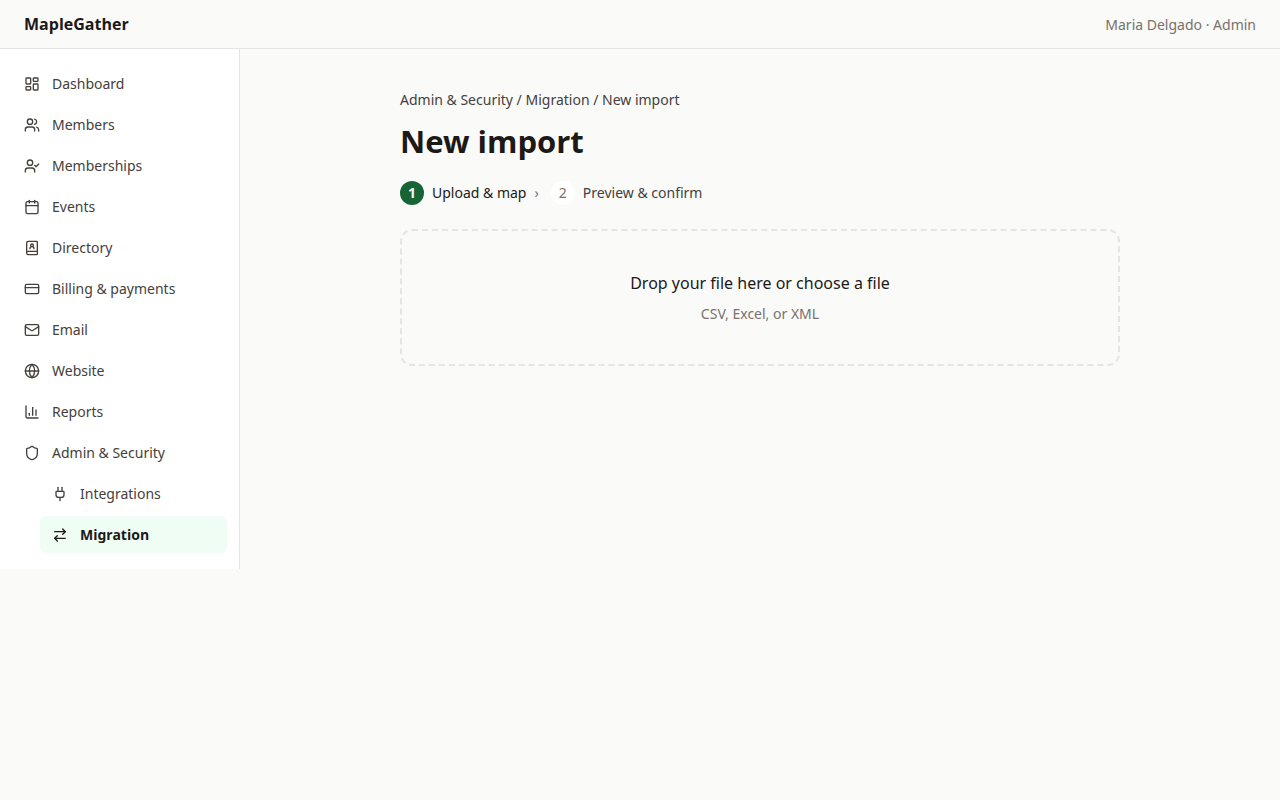
Coming from Wild Apricot? Export your members to a CSV — the same export you'd take for a backup — and drop it right here.
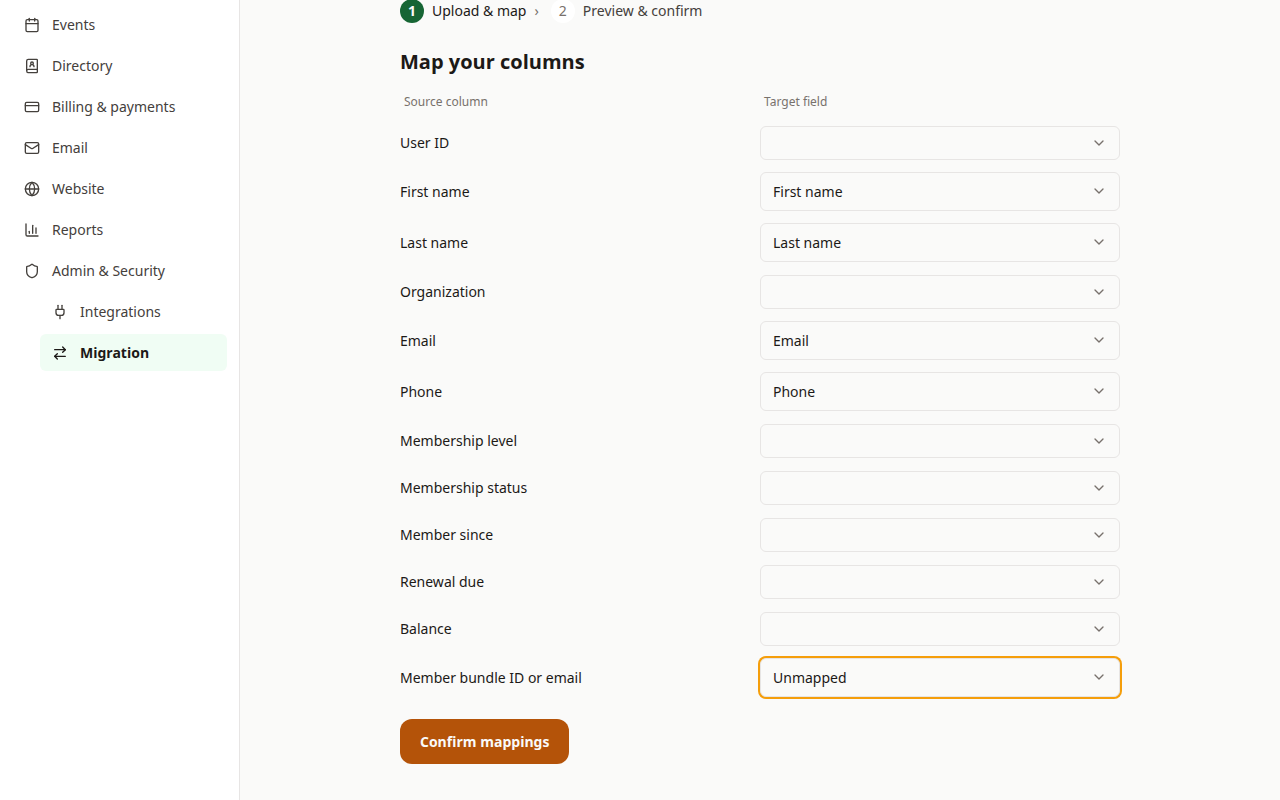
MapleGather reads your columns and proposes how they map — name, email, phone. Review each one, adjust anything that looks off, and leave what you don’t need unmapped.
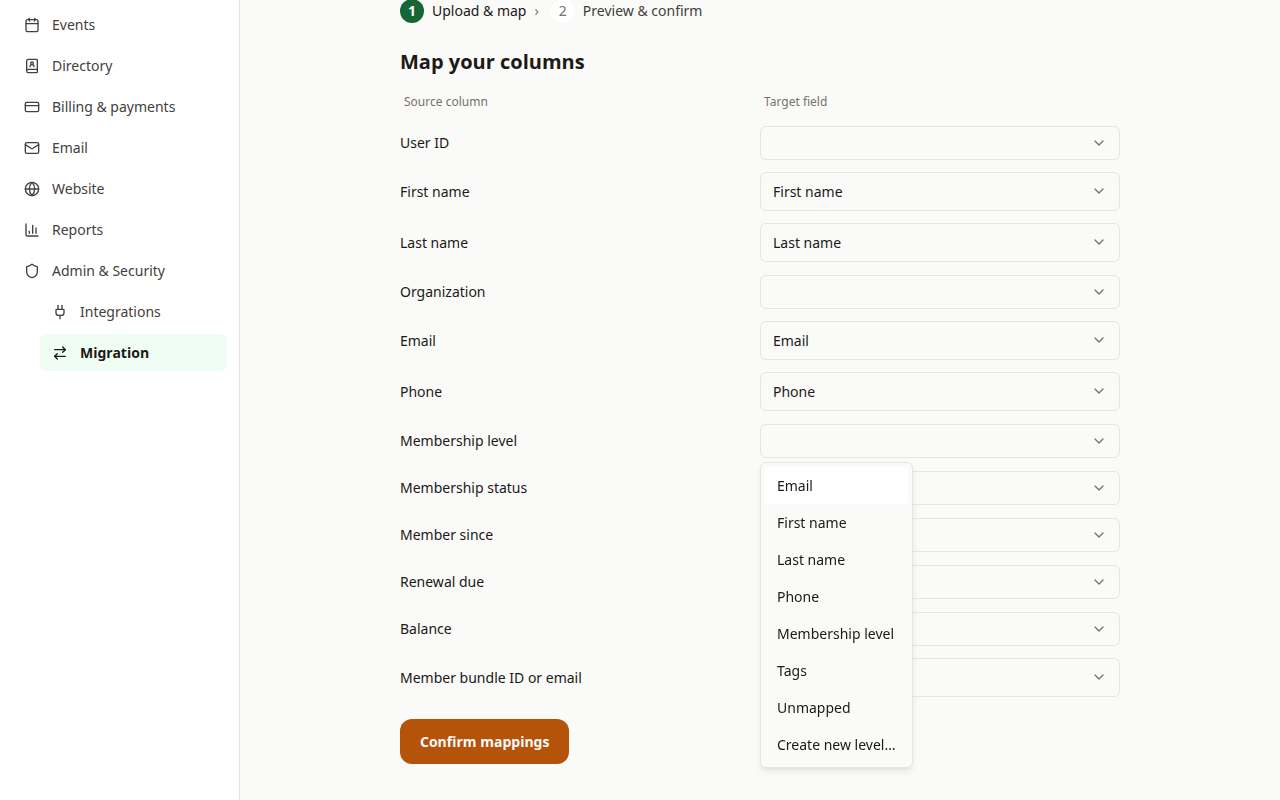
Membership levels from your old system that don't exist here yet? Create them inline as you map — no switching screens to set things up first.
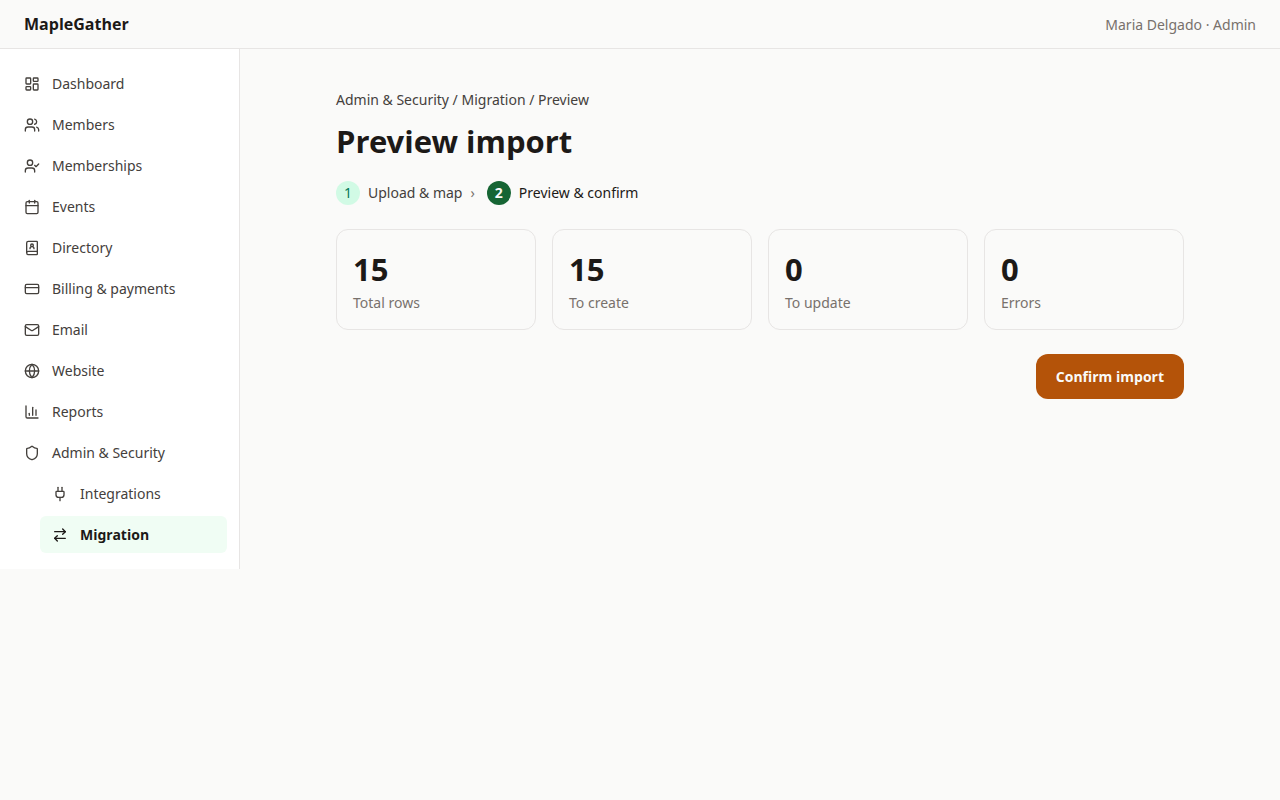
A preview of exactly what is about to come across — so you can see it before you commit. Nothing is saved to your roster until you confirm.
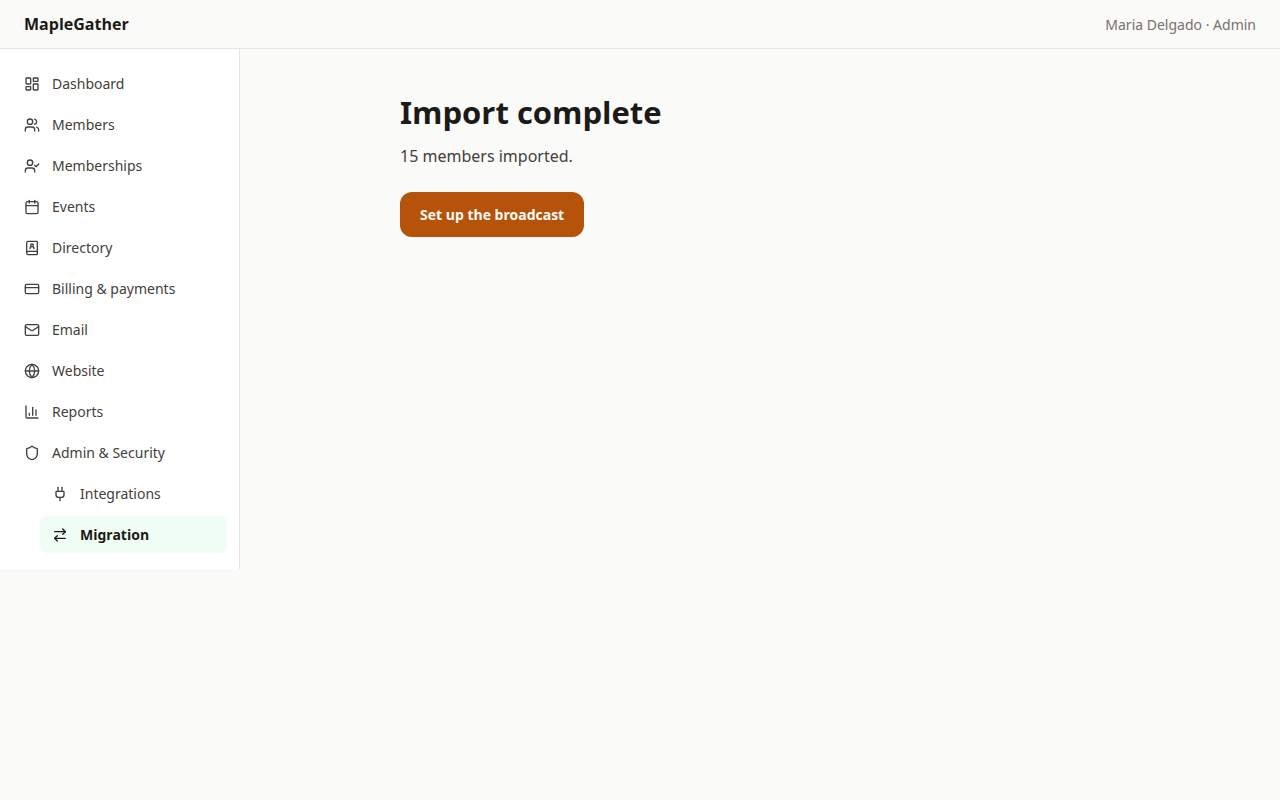
Done — your members are in. The summary reconciles exactly what was created against your file, so you know nothing was silently dropped.
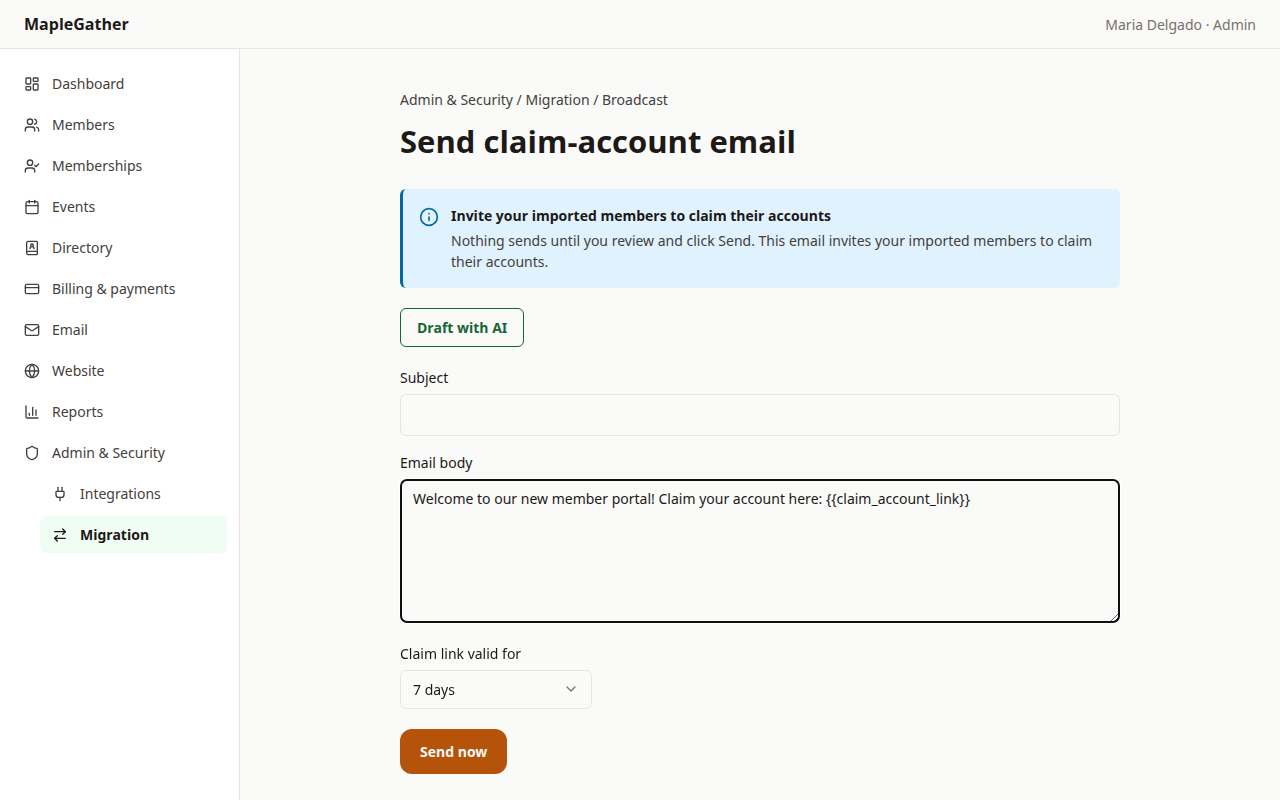
Now invite everyone to claim their account — one broadcast that asks each member to set up their own login, straight from the import.
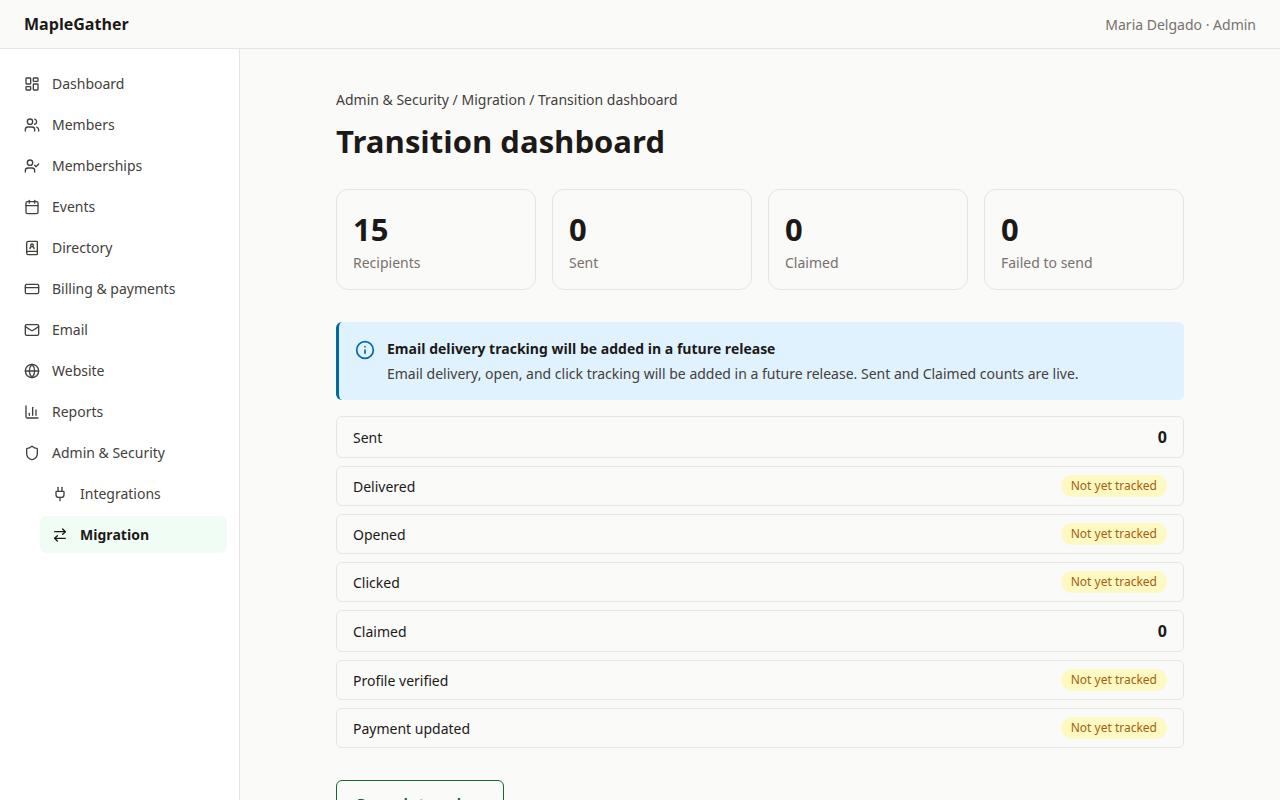
One click sends the invitations, and the transition dashboard tracks who has been invited — so moving in is something you can watch, not wonder about.
Run an event and take the payment
Create a ticketed event, watch a member register from their portal, and take a real payment straight to your own Stripe account — no platform surcharge.
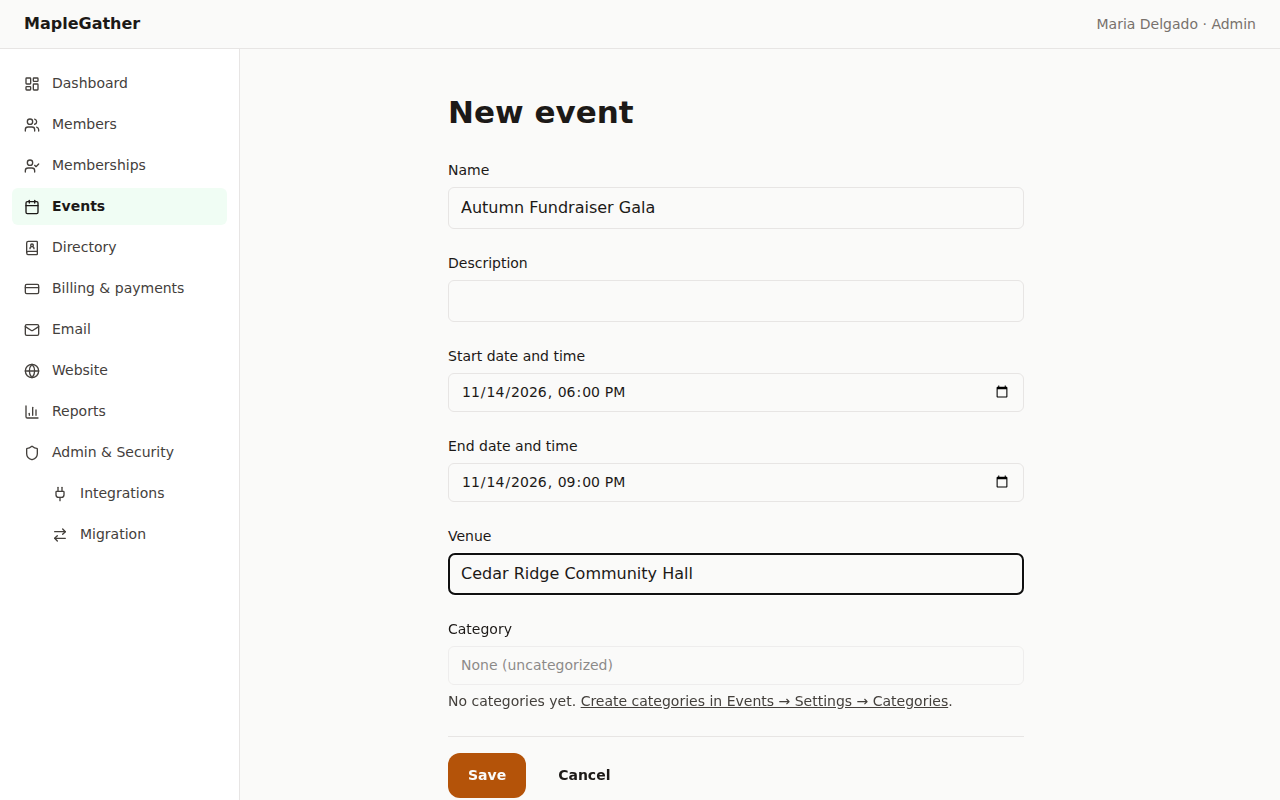
One simple form for any event — a board meeting or a gala. Name it, set the date and place, and save. No wizard, no ceremony.
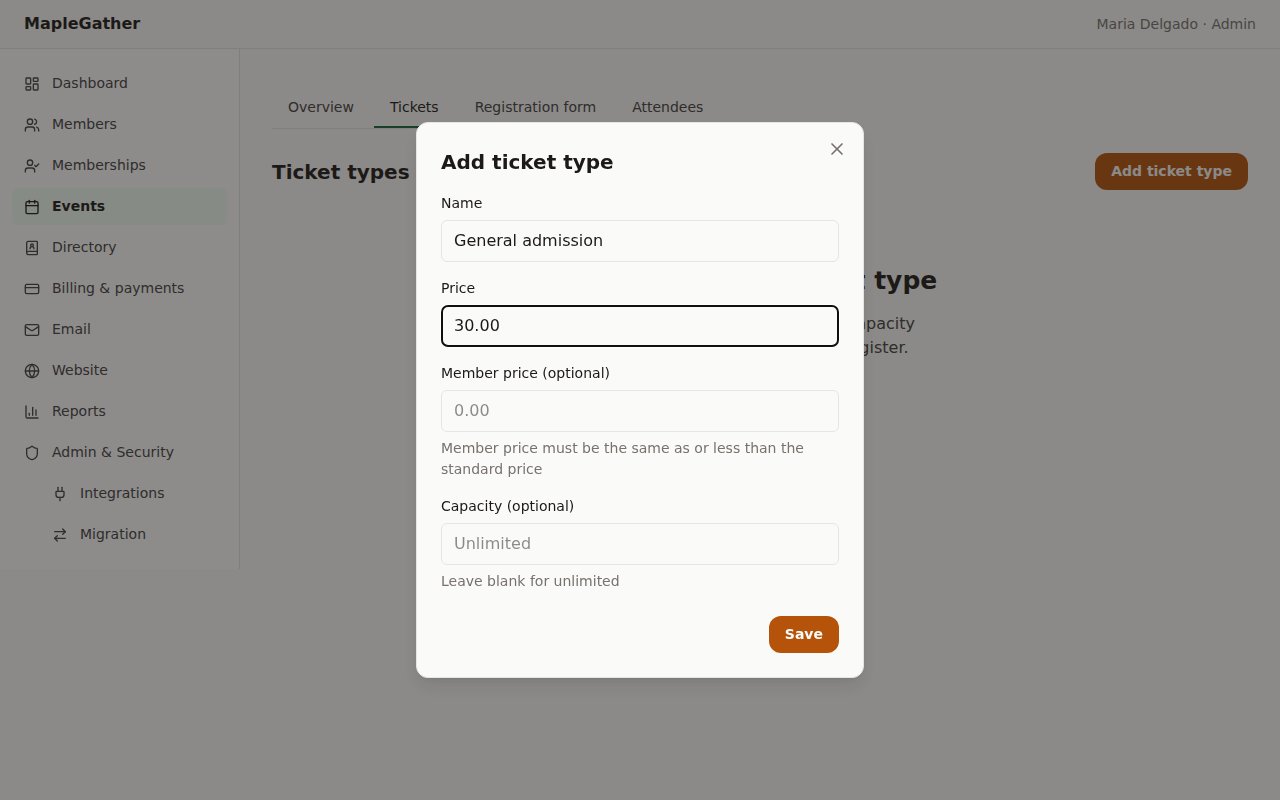
Add ticket types and set your prices — dues, fees, or donations. Every dollar goes to your own Stripe account: you keep your processor and your rates.
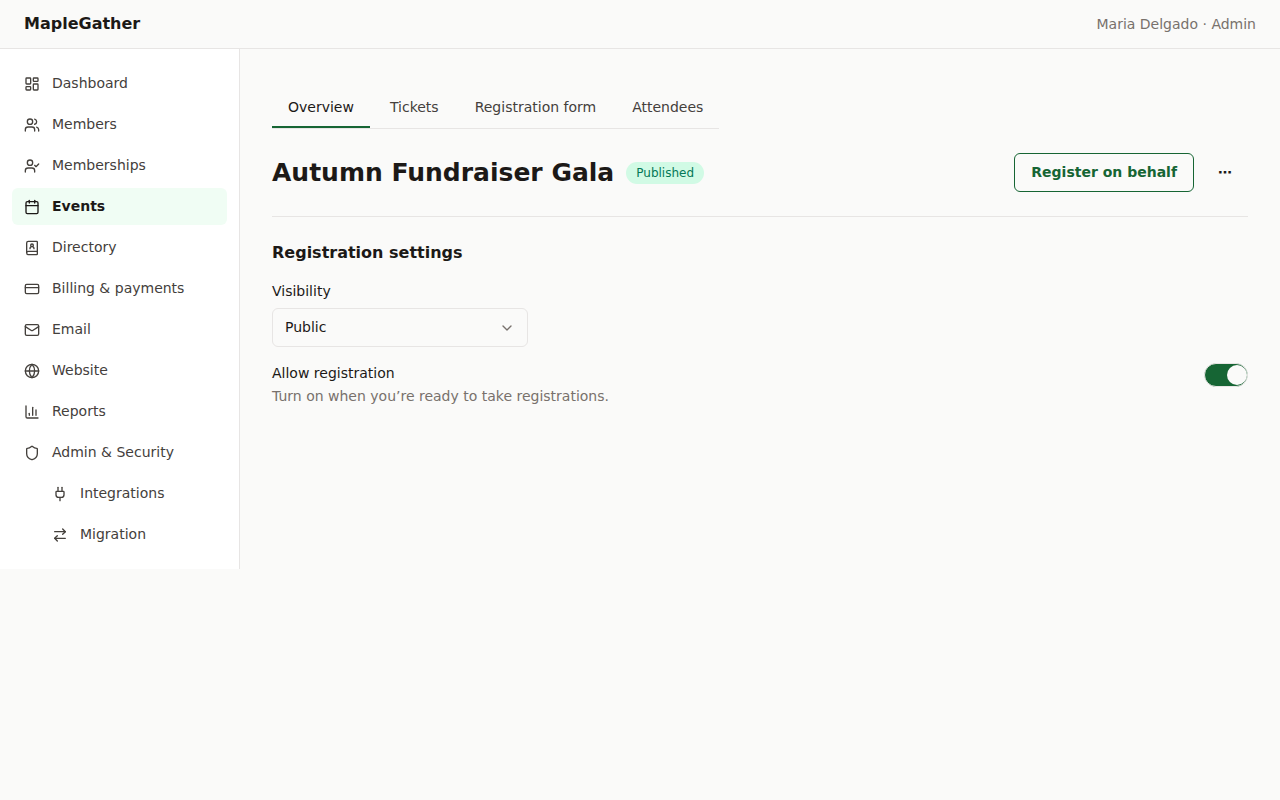
Publish, and registration opens with it — allow registrations when you’re ready, and your members can sign up right away.
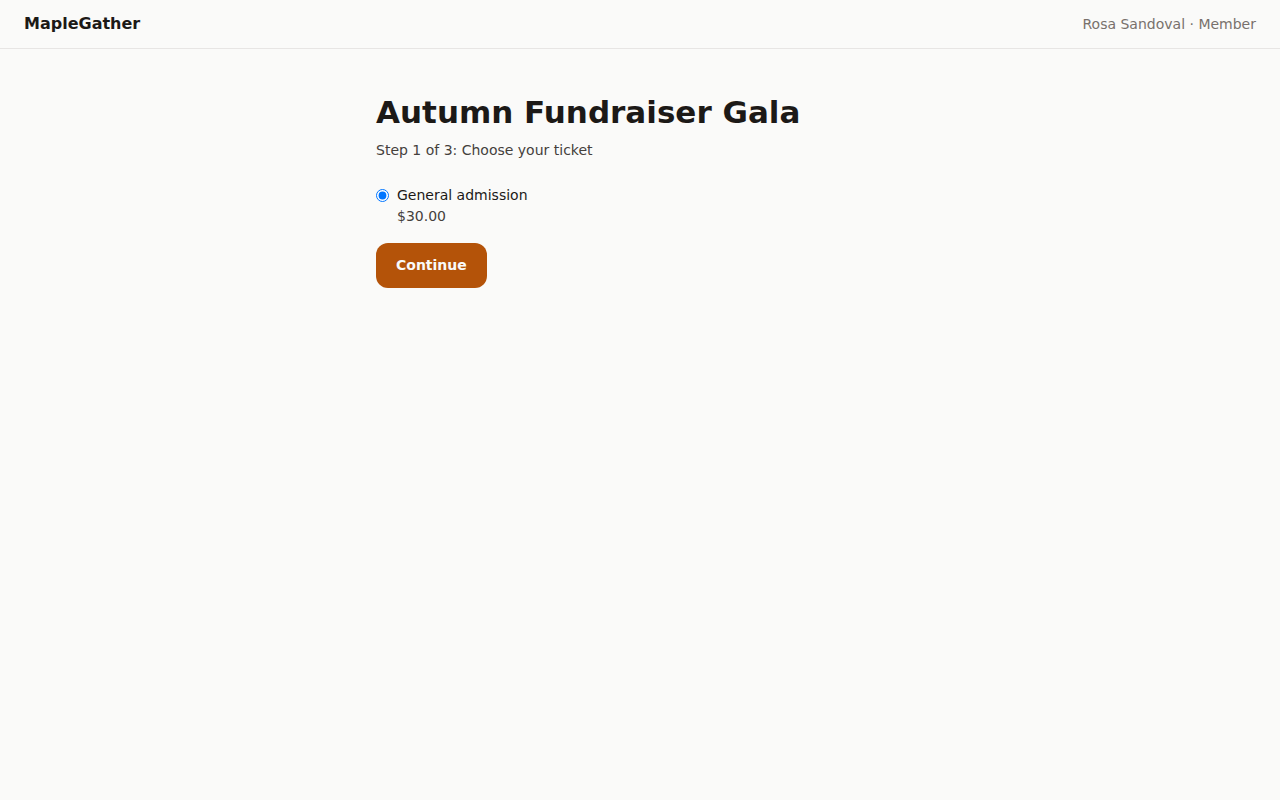
Your members register right from their own portal — pick a ticket and go. A couple of taps, no account hoops.
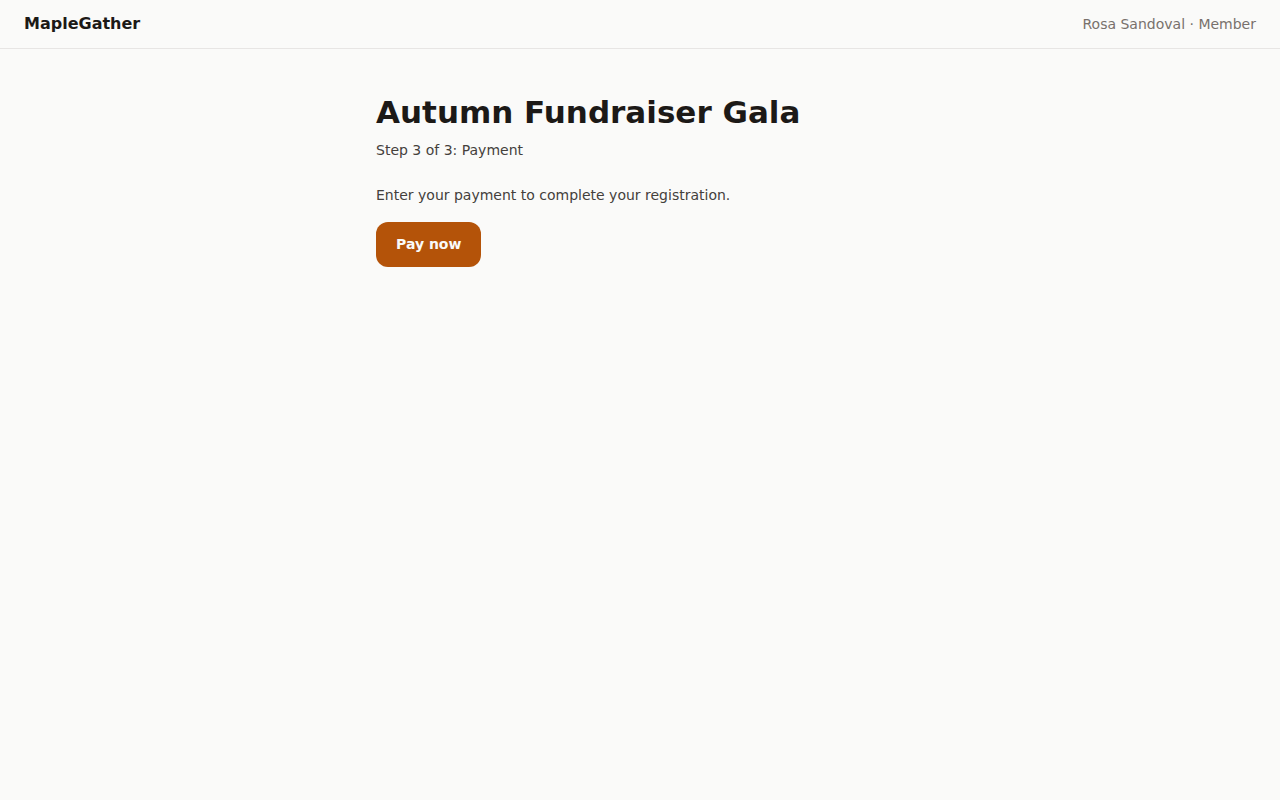
Payment happens in place — the charge goes straight to your organization's own Stripe account, with no platform surcharge, ever. You keep your processor and your rates.
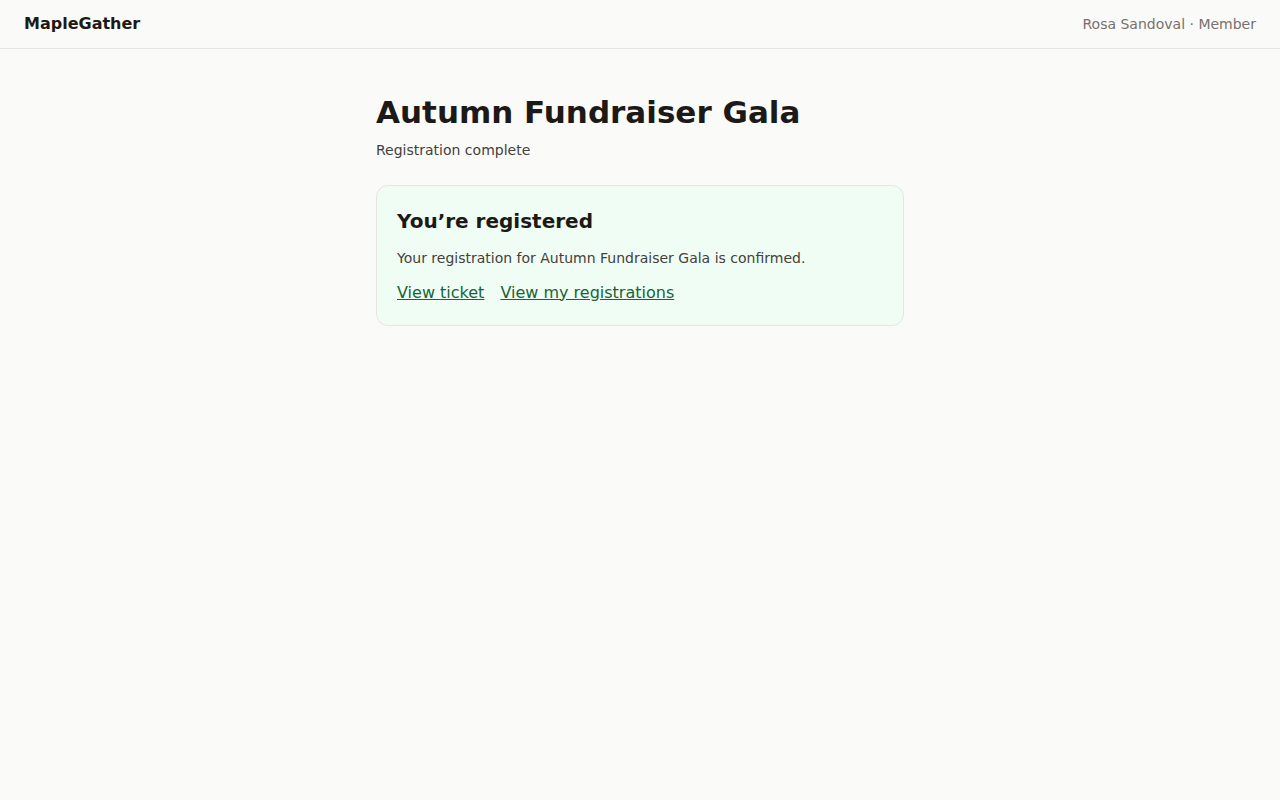
Paid and registered — a clean confirmation, right inside your portal. No detour to a third-party checkout, no surprise fees.
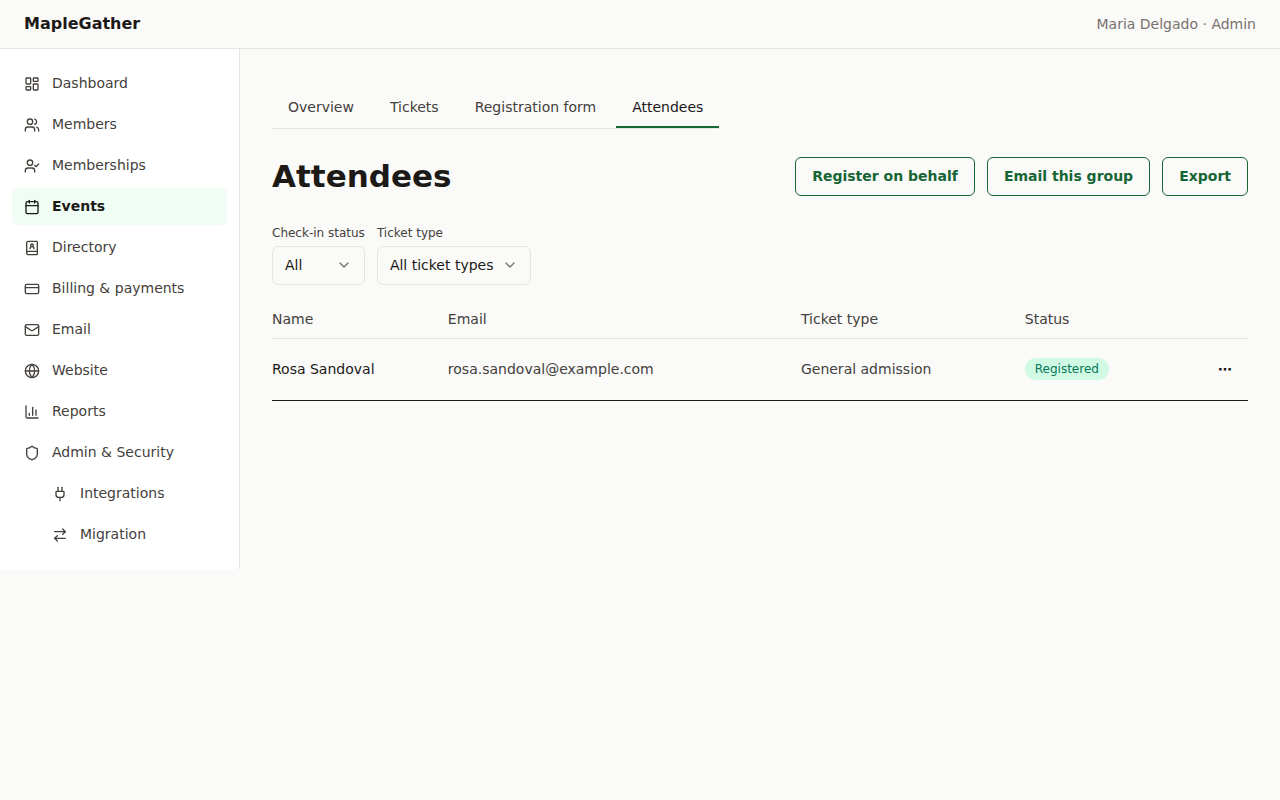
Roster updated — the registration shows up in your admin view right away, with the payment recorded on the same flow. Nothing to chase down.